Hosting a vacation rental can be rewarding, both financially and personally. But the hosts who earn steady bookings and glowing reviews rarely get there by accident. They treat hosting like a small hospitality business: they handle the paperwork, prepare the home with care, present it honestly, and make every guest feel looked after. This guide walks you through the whole process, step by step, so you can start strong.
Key takeaways
- Check local rules, permits, taxes and insurance before you accept your first booking.
- Prepare the home as if you were the guest: spotless, safe, and stocked with the essentials.
- Great photos and an honest, specific description do more for bookings than anything else.
- Clear house rules and a smooth check-in process prevent most problems.
- Fast, friendly communication is the habit that turns good stays into five-star reviews.
Step 1: Check local rules, permits and insurance
Before you do anything else, make sure you are allowed to host. Short-term rental regulations differ from city to city and can change, so treat this step as essential rather than optional.
- Registration or licensing: Many cities require hosts to register a short-term rental, obtain a permit or display a license number on their listing.
- Night caps and primary-residence rules: Some places limit how many nights per year you can rent out a home, or only allow hosting in your primary residence.
- Building and HOA rules: If you live in a condo, co-op or rented apartment, read your bylaws or lease. Some buildings prohibit short stays entirely.
- Taxes: Hosting income is usually taxable, and many cities charge occupancy or tourist taxes on short stays. Ask a local accountant how this applies to you.
- Safety codes: Smoke detectors, carbon monoxide alarms and fire extinguishers are often required, and they are a good idea everywhere.
Insurance deserves its own conversation. Standard homeowner and renter policies frequently exclude paid guests, so contact your insurer about a short-term rental endorsement or a dedicated host policy that covers damage, liability and lost income.
Step 2: Prepare your home for guests
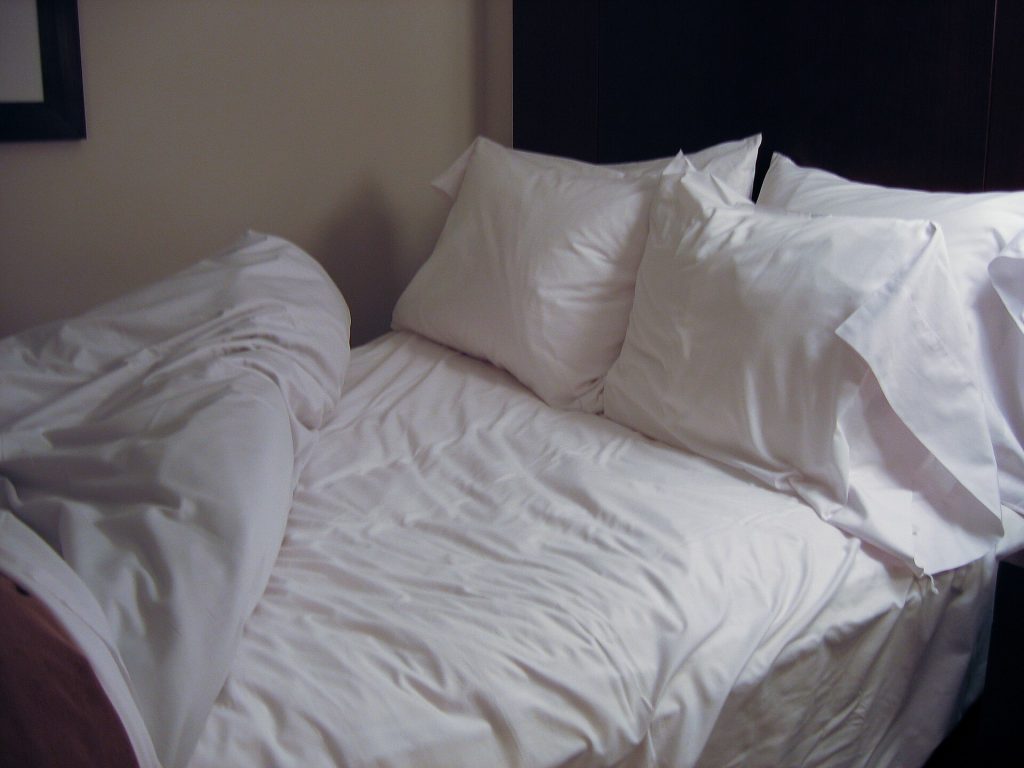
Walk through your home as a first-time visitor would. Guests notice what hosts stop seeing: a dripping tap, a sticky drawer, a dim reading lamp. Fix small issues now, because they show up later in reviews.
- Declutter and depersonalize. Remove most personal items, paperwork and valuables. Lock away anything you would not want touched in an owner’s closet.
- Deep clean everything. Clean behind appliances, inside cabinets, under beds and around windows. The standard should be “hotel clean.”
- Invest in the bed. A good mattress, mattress protector, quality pillows and crisp linens matter more than decor.
- Make it safe. Secure loose rugs, label circuit breakers, put a first aid kit in an obvious place, and post emergency numbers.
- Think about storage. Leave empty hangers, a few clear drawers and space in the bathroom for toiletries.
Step 3: Use an amenities checklist
Guests compare listings line by line, and missing basics are a common source of complaints. Use this checklist as a starting point and adjust it to your property type.
| Area | Essentials | Nice extras |
|---|---|---|
| Bedroom | Two sets of linens per bed, extra pillows and blanket, blackout curtains, hangers | Bedside chargers, reading lights, a luggage rack |
| Bathroom | Towels per guest, toilet paper, soap, shampoo, hair dryer | Bath mat, conditioner, makeup remover wipes |
| Kitchen | Pots, pans, knives, plates, cups, cutlery, coffee maker, salt, pepper, oil | Spices, tea selection, blender, wine glasses |
| Living area | Fast, reliable Wi-Fi, comfortable seating, good lighting | Smart TV with streaming, board games, guidebooks |
| Practical | Iron, cleaning supplies, trash bags, fire extinguisher, first aid kit | Washer and dryer, a dedicated workspace, a travel crib on request |
Only list amenities you actually provide and keep working. A broken dishwasher marked as an amenity costs you more goodwill than not listing it at all.

Step 4: Take photos that sell the stay
Your photos are the first, and sometimes only, thing a guest looks at before deciding to read further. Blurry or dark images make even a beautiful home look tired.
- Shoot during the day with all lights on and curtains open.
- Take wide shots from room corners at chest height to show layout and space.
- Photograph every bedroom, bathroom and the kitchen, plus outdoor areas and views.
- Add detail shots of standout features: a pool, a balcony, a reading nook, a well-stocked coffee station.
- Order images so they tell a story, starting with your strongest shot.
If photography is not your strength, it is worth bringing in a professional. Bed N Beds offers professional listing photography and professional cleaning for hosts, so you can launch with images that do your home justice and keep it guest-ready between stays.
Step 5: Write a listing that is honest and specific
A strong listing helps the right guests book and the wrong guests move on, which is exactly what you want. Be specific rather than flowery.
Title
Lead with what makes your place distinctive and the key fact guests filter by. “Bright 2-Bedroom With Pool Near Downtown” is more useful than “Amazing Dream Stay.”
Description
- Open with a short summary of the space and who it suits best: couples, families, remote workers, groups.
- Describe the sleeping arrangements clearly, including bed sizes and whether any beds are sofa beds.
- Explain the neighborhood: walking distance to transit, groceries, restaurants and main sights.
- Be upfront about quirks: stairs without an elevator, street noise, a compact kitchen, shared spaces.
Honesty pays off. Guests who know exactly what to expect are far more likely to leave positive reviews. Once your description is ready, set rates that fit your market; our guide to vacation rental pricing strategy walks through nightly, weekly and monthly rates, fees and seasonality.
Step 6: Set clear house rules
House rules protect your home and your neighbors, and they set expectations before guests arrive. Keep them short, polite and easy to follow.
- Check-in and check-out times
- Maximum number of guests and whether visitors are allowed
- Smoking, pets, parties and events
- Quiet hours, especially in apartment buildings
- Rules for pools, hot tubs, balconies or rooftop areas
- Trash and recycling instructions
Step 7: Design a smooth check-in process
The first fifteen minutes of a stay shape the guest’s impression of everything that follows. A confusing arrival after a long journey is hard to recover from.
- Choose your method. Self check-in with a smart lock or lockbox gives guests flexibility. In-person greetings add a personal touch. Both work if they are reliable.
- Send instructions in advance. A day or two before arrival, share the address, parking or transit details, entry steps, Wi-Fi details and your contact number.
- Add photos to the instructions. A picture of the building entrance or lockbox location removes guesswork.
- Prepare a welcome guide. Include appliance tips, house rules, trash days, local recommendations and emergency contacts.
- Make check-out simple. A short list such as “load the dishwasher, take out trash, leave keys on the table” is plenty.
Step 8: Communicate like a great hotel
Responsiveness is one of the most valuable qualities a host can have. Guests feel reassured when they know someone is looking out for them.
- Before booking: Answer questions promptly and accurately. A helpful reply often converts an inquiry into a reservation.
- After booking: Send a warm confirmation and let guests know when to expect arrival details.
- On arrival day: Check that they got in safely and found everything they need.
- During the stay: Stay available without hovering. If something breaks, acknowledge it quickly and explain what you are doing to fix it.
- After check-out: Thank them for staying and invite them to leave a review.
Saved message templates for each stage keep your communication consistent and save time, while still leaving room to personalize.
Step 9: Earn and respond to reviews
Reviews are your reputation. They influence search visibility, guest confidence and, over time, the rate you can charge.
- Exceed expectations slightly. A handwritten note, local snacks or a flexible check-out when your calendar allows creates goodwill that shows up in reviews.
- Fix the root cause of complaints. If two guests mention a thin mattress, replace it rather than explaining it away.
- Respond to every review. Thank guests for kind words. For critical reviews, stay calm, acknowledge the concern and explain what you changed.
- Review your guests fairly. Honest guest reviews help the whole community of hosts.
Step 10: Keep improving
Successful hosts treat each stay as feedback. Every few months, sleep a night in your own rental, replace worn linens and towels, refresh your photos if you have updated the space, and revisit your pricing. Small, steady improvements add up to a listing guests seek out and book again.
Safety and trust also run in both directions. Read how Bed N Beds approaches trust and safety for hosts and guests, and see how it works from booking request to payment.
Ready to welcome your first guests?
List your home on Bed N Beds and reach travelers looking for hand-picked, quality stays. Our team reviews every listing and is on hand to help you get started.
Frequently Asked Questions
Do I need a permit to host a short-term rental?
In many cities, yes. Rules vary widely: some places require registration or a license, some limit the number of nights per year, and some restrict short-term rentals in certain buildings or zones. Check with your city or municipality, and if you rent or live in a building with an owners association, review your lease or building bylaws before you list.
Is my regular home insurance enough for hosting?
Often it is not. Many standard homeowner or renter policies exclude or limit coverage for paid stays. Speak with your insurer about a short-term rental endorsement or a dedicated host policy that covers property damage, liability and loss of income.
How many photos should my listing have?
Aim for enough photos to show every room and key feature clearly, typically somewhere between 15 and 30. Lead with your strongest image, include at least one wide shot of each bedroom and bathroom, and add detail shots of the amenities guests care about, such as the kitchen, workspace or pool.
How quickly should I respond to guest messages?
As quickly as you reasonably can, ideally within a few hours during the day. Fast, friendly replies build trust before booking and prevent small issues from becoming bad reviews during the stay. Saved message templates make this much easier.
How do I list my home on Bed N Beds?
Visit the Become a Host page, create your account and follow the steps to add your home, photos, pricing and house rules. Our team reviews listings before they go live and is available by email around the clock if you have questions.